To mount plant pots securely, start by evaluating your wall strength with a stud finder and selecting appropriate heavy-duty anchors or hooks that match your pot's weight. You'll need to carefully mark mounting points using a level, pre-drill holes, and install brackets according to manufacturer specs. Don't forget drainage solutions like self-watering planters or pebble layers. Regular stability checks and proper tool selection are essential for success. Our detailed guide below covers everything you need to create a thriving mounted garden.
Key Takeaways
- Install heavy-duty wall anchors matched to your wall type and secure mounting brackets according to manufacturer specifications.
- Use a stud finder to locate wall studs and mark mounting points with a level for balanced, secure installation.
- Choose mounting hardware rated for both pot weight and expected plant growth, prioritizing stainless steel for durability.
- Test stability by gently pulling mounted pots and regularly inspect brackets for signs of wear or loosening.
- Select pots with proper drainage solutions and position them to allow adequate airflow between plant and wall.
Selecting the Right Mounting Hardware

You may be interested
When it comes to mounting your beloved plant pots, choosing the right hardware is absolutely critical for safety and peace of mind. Your first step is selecting sturdy hooks that match your pots' weight recommendations and installation location.
For indoor walls, you'll need heavy-duty wall anchors when mounting on plasterboard or drywall to distribute the weight properly. If you're planning ceiling installations, make sure to use hooks specifically designed for overhead use, and always secure them directly into ceiling joists. For outdoor mounting hardware, opt for stainless steel or galvanized materials that won't rust or deteriorate from exposure to moisture. Check both your mounting hardware and pot specifications carefully – you'll want to verify they're compatible before installation. This attention to detail will help prevent accidents and keep your plants securely displayed.
Recommended Products

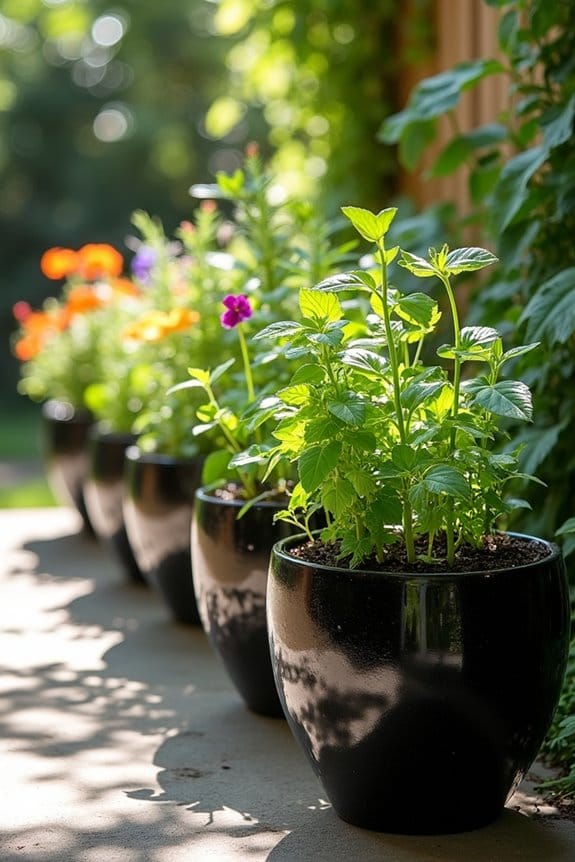
DEFINE YOUR SPACE & CREATE PRIVACY || At 24 inches tall, this large outdoor planter box is perfectly proportioned to line a patio, flank an entryway, or create elegant separation in your landscape. Use multiple planters to build a living wall or a subtle privacy screen with your favorite tall grasses or flowers.
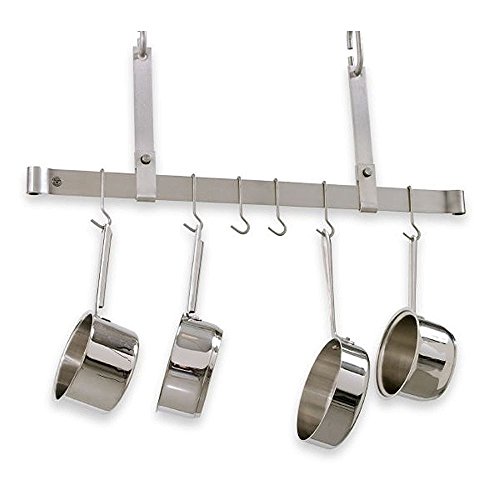
Includes 6 Angled Multi-Purpose Pot Hooks

Get your pots and pans out of the drawer and up on the wall; conveniently mounts as a dual kitchen shelf and pot rack in one
Wall Strength Assessment and Preparation
Before drilling any holes in your walls, proper assessment of the mounting surface is essential for safely displaying your potted plants. A thorough wall strength assessment will help you determine the right mounting hardware and prevent future accidents.
To guarantee your wall is ready for plant pot installation, follow these key steps:
- Use a stud finder to locate wall studs and check for hidden electrical wiring or plumbing
- Examine the wall surface for cracks, water damage, or other structural issues that could affect secure anchoring
- Determine your wall type (drywall, plaster, or masonry) to select appropriate mounting hardware
- Test that your chosen location is structurally sound by gently tapping and listening for hollow spots
Remember to use a level when marking your mounting points to guarantee your plants will hang evenly on the wall.
Measuring and Marking Mounting Points

Three essential steps mark the beginning of your plant pot mounting project: precise measuring, careful marking, and double-checking your work.
Start by using your measuring tape to determine the ideal height for your plant, considering how it'll grow and trail over time. You'll want to mark mounting points that account for both the pot's weight and your chosen hardware. Keep your level handy to guarantee straight, consistent markings, especially when you're planning multiple pots in a row.
Before finalizing any mounting points, hold your pot against the wall to visualize its placement. This simple step helps you confirm that your measurements make sense for your space. Remember to make clear pencil marks that you can easily see while drilling but can also erase later.
Installing Wall Anchors and Brackets

The correct installation of wall anchors and brackets forms the foundation of a secure plant display. You'll need to match the right anchor type to your wall material before you start installing wall anchors. Remember to pre-drill holes carefully to prevent wall damage and guarantee a proper fit.
Proper anchor selection and careful installation are essential steps to create secure plant displays that will stand the test of time.
Follow these essential steps for a sturdy hook installation:
- Choose appropriate anchors rated for your plant's total weight when watered
- Mark and pre-drill holes using a level to guarantee even alignment
- Install wall anchors according to the manufacturer's specifications
- Attach brackets securely, testing their stability before hanging plants
Check your mounted displays regularly to maintain safety. If you notice any wobbling or loosening, don't wait to tighten or replace the anchors. Your wall to hang setup should remain secure through regular maintenance.
Recommended Products

Large & Convenient: This greenhouse for outdoors has 5.6ft high walls and a 1008 Cu.Ft. spacious interior. Feature a low threshold and double hinged doors for easy access.

Actual Size: 5.9x19.8x6.4 FT outdoor greenhouse, Recommended foundation size: 6.5x21 FT. Twin-wall translucent PC panels(UV Protection 99.99%)

EXPANDABLE LENGTH: 5 Pack of 40.5 in. to 73 in. Closet Shelf with Hanging Rod - Includes 4 End Brackets (for joining shelves, making corners or mounting to back wall) - NOT a Tension Shelf - Must Install with Anchors and Screws
Weight Distribution Techniques

With your wall anchors securely in place, proper weight distribution becomes your next focus for mounting success. When setting up your wall-mounted systems, you'll want to guarantee the total weight of your pot, soil, and water spreads evenly across all mounting hardware to prevent any sagging.
Start by selecting heavy-duty anchors rated for at least twice your pot's weight. For larger containers, arrange your supports in a triangle pattern to distribute weight more effectively. You'll get the best results by positioning brackets directly into wall studs whenever possible. Don't forget to monitor your setup regularly, especially after watering, to ensure everything stays secure over time. Check both the mounting hardware and wall condition periodically, as weight distribution can shift as your plants grow and soil settles.
Recommended Products

【Metal Garden Bed Size & Volume】Our galvanized steel raised garden bed measures 72"L x 36"W x 24"H, which allows it to easily hold up to 269 gallons of fertile soil inside. This soil storage volume provides a spacious growing environment for all types of vegetables and deep-rooted plants to absorb enough nutrients, ensuring that they can thrive.

Get your pots and pans out of the drawer and up on the wall where you can easily reach them when cooking; conveniently mounts as a kitchen shelf and pot rack in one
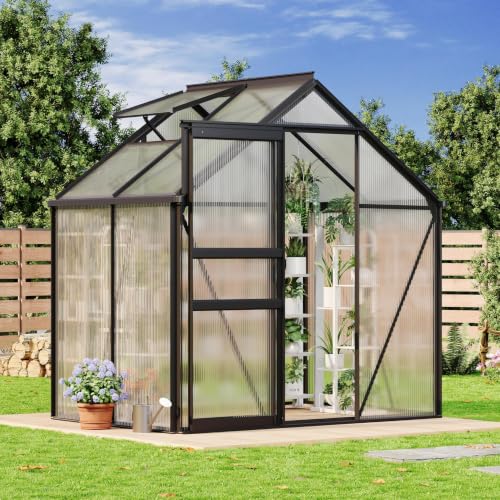
Thickened & Durable UV Protection Sheet:Experience optimal plant growth inside this walk-in greenhouse, thanks to its 4mm double-wall translucent polycarbonate roofing sheets. These panels provide excellent light transmission while effectively filtering harmful UV rays. The robust polycarbonate aluminum greenhouse structure is not only shatterproof but also expertly regulates internal humidity and temperature.
Ceiling Mount Installation Methods
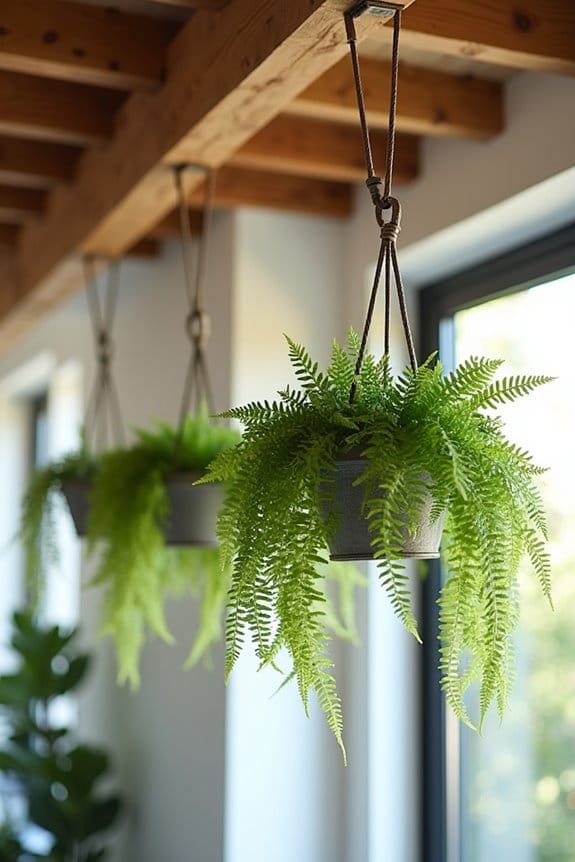
Since proper ceiling installation forms the foundation of successful hanging gardens, you'll need to start by locating sturdy ceiling joists or beams. Installing heavy-duty ceiling hooks securely will guarantee your plant pots stay safely suspended for years to come.
A strong foundation starts with finding solid ceiling joists – the key to keeping your hanging garden safely aloft.
Follow these essential steps for proper installation:
- Drill pilot holes into marked joist locations using the appropriate bit size for your hooks
- Install expansion anchors or toggle bolts if mounting into drywall between joists
- Space ceiling hooks 18-24 inches apart to prevent overcrowding as plants grow
- Screw in heavy-duty hooks until firmly seated, guaranteeing they can support your pot weight
Don't forget to check your mountings regularly, especially for heavier plant pots. This maintenance routine will help prevent any potential accidents and keep your hanging garden thriving safely overhead.
Securing Plant Pots With Safety Features

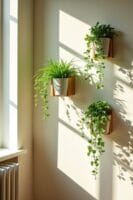
Building on proper ceiling installation, implementing safety features for your mounted plant pots creates an extra layer of protection for your indoor garden. Start by selecting heavy-duty wall anchors rated for weights exceeding your planters, and pair them with weight-bearing hooks that can support at least 20 pounds.
For temporary displays, you'll want to test adhesive hooks in hidden spots first to verify they won't damage your walls. Don't forget to add safety chains as backup support, especially if you're mounting pots in areas with air movement or outdoor spaces. You should inspect your mounting hardware regularly – at least once every few months – and tighten or replace components showing wear. This maintenance routine will keep your hanging plants secure and prevent any unexpected accidents.
Drainage Solutions for Mounted Pots

Although mounting your plant pots creates a beautiful display, proper drainage remains essential for keeping your plants healthy and thriving. You'll need to take extra care to prevent root rot and maintain ideal moisture levels in mounted containers.
Here are four key drainage solutions for your mounted plants:
- Choose pots with drainage holes or add a layer of pebbles at the bottom of containers without holes
- Install self-watering planters with reservoir systems to regulate moisture while allowing excess water to drain
- Position your mounted pots where proper airflow can prevent water stagnation
- Use natural drainage medium like sphagnum moss or coconut coir to balance moisture retention
Remember to check your mounted plants' moisture levels frequently, as they typically dry out faster than traditional ground-level containers due to increased air exposure.
Recommended Products


Durable Window Boxes: We use high quality vinyl in the manufacturing process - making our products durable, lightweight and highly shock resistant

Self watering feature keeps plants consistently hydrated and healthy, reducing maintenance while ensuring lush, thriving displays that enhance any indoor or outdoor space
Proper Tool Selection and Usage

Selecting the right tools makes all the difference when you're mounting plant pots on walls or surfaces. Proper tool selection starts with gathering essential items like a drill, stud finder, and level to guarantee your plants stay securely in place.
When working with drywall, you'll need heavy-duty wall anchors to provide reliable support for your mounted pots. Choose the right screw size and type based on your pot's weight and material. Don't forget to use a torque wrench to prevent over-tightening, which can compromise the mounting's stability.
Always prioritize safety during installation. Wear safety goggles and a dust mask while drilling to protect yourself from flying debris. Remember that secure mounting depends on both having the correct tools and using them properly – there's no shortcut to guaranteeing your plants stay safely displayed.
Recommended Products

Get your pots and pans out of the drawer and up on the wall where you can easily reach them when cooking; conveniently mounts as a kitchen corner shelf and pot rack

1-3/8-Inch White Powder Coated Steel Frame
Get your pots and pans out of the drawer and up on the wall where you can easily reach them when cooking; conveniently mounts as a kitchen corner shelf and pot rack
Testing and Maintaining Mount Stability

Once you've mounted your plant pots, testing their stability becomes imperative for long-term success. Before adding soil and water, check that your wall anchors are secure and can support the full weight of the plant. Give each pot a gentle tug to confirm there's no movement or wobbling.
To maintain lasting security, follow these key steps:
- Regularly inspect mounting points for signs of wear, rust, or loosening
- Use a level to check that pots remain evenly balanced
- Verify that brackets and hooks stay properly rated for your plant's weight
- Tighten any loose hardware immediately upon discovery
Don't skip these maintenance checks – they're essential for preventing accidents. Remember that the weight of the plant changes as it grows and when you water it, so ongoing stability monitoring is critical for your hanging garden's success.
Frequently Asked Questions
How Do I Stop Someone From Stealing My Plant Pots?
You'll prevent plant pot theft by anchoring containers, installing security lights, joining neighborhood watch, and using camouflage techniques. These garden security tips protect your outdoor decor while maintaining your garden's aesthetic appeal.
How to Keep Outdoor Planters From Falling Over?
You'd think planters would stay upright on their own, right? Use wind resistance techniques like heavy base options, add plant pot weights, install anti-tip devices, and employ stabilizing strategies to keep your outdoor containers grounded.
How to Secure a Hanging Planter?
You'll need strong hooks mounted into ceiling studs for indoor or outdoor hanging planters. Distribute weight evenly and choose appropriate mounting techniques. Don't exceed weight limits, and always secure your planter's base with safety cables.
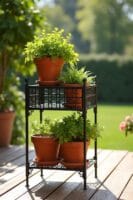
What Can I Stand My Plant Pots On?
Like stars adorning the night sky, your plants deserve proper pedestals. You'll find endless plant stand options, from decorative planter bases to pot risers. Consider elevated plant displays indoors and weather-resistant outdoor planter materials.