To set up a self-watering planter, you'll need a plastic pot without drain holes, a recycled bottle for the wick, river rocks, and quality potting soil. Cut the bottle to one-quarter of the pot's height, make holes in it, and position it in the center. Add rocks at the bottom, place a barrier screen, then add soil. Fill the reservoir through a watering pipe and monitor moisture levels regularly. The complete setup process reveals smart techniques for stress-free plant care.
Key Takeaways
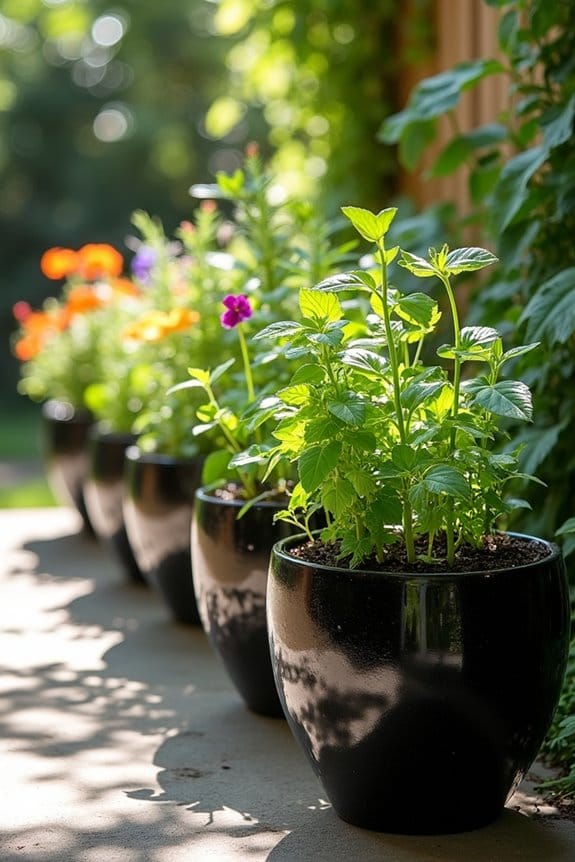
- Choose a plastic container without drain holes and add rocks at the bottom to create a water reservoir.
- Cut a plastic bottle to make a wick, punch holes in it, and position it centrally in the container.
- Place a barrier layer (window screen or plastic bags) above the rocks to separate them from the soil.
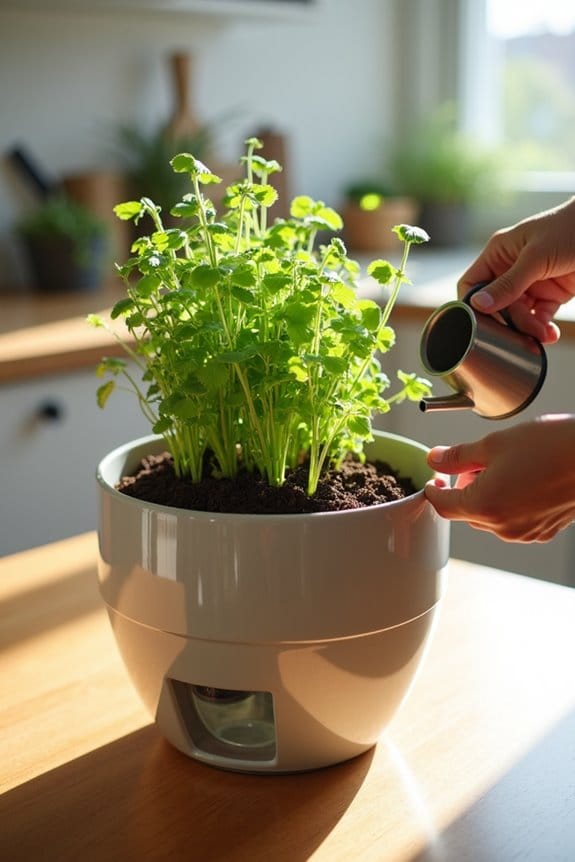
- Fill the container with quality potting soil around the wick, leaving space at the top for watering.
- Add water through the wick until the reservoir is full, and monitor moisture levels by touching the soil surface.
Essential Materials and Tools for Self-Watering Planters
You may be interested


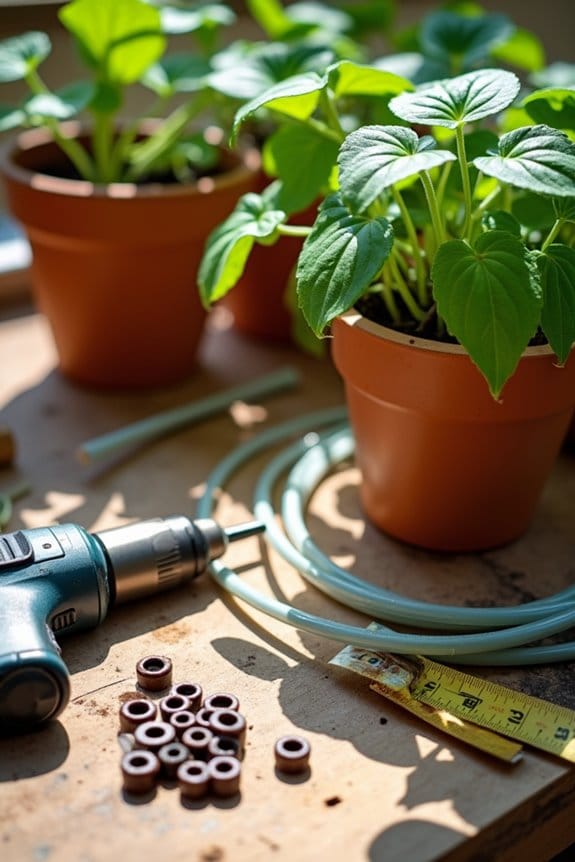
Creating a successful self-watering planter starts with gathering the right materials and tools. You'll need a plastic pot without drain holes to serve as your water reservoir, along with a recycled plastic bottle that'll work as a wick system. For effective drainage, collect river rocks or pea pebbles to create the bottom layer.
Don't forget to grab a barrier material like window screen or plastic bags – this keeps your potting soil separate from the drainage rocks. You'll also want a pipe, either copper or PVC, to make watering easier. Choose a high-quality potting soil, preferably peat-free, for the best growing results. For enhanced moisture retention, consider adding kitty litter to your soil mix. These materials guarantee your plants get consistent water without oversaturation.
Recommended Products

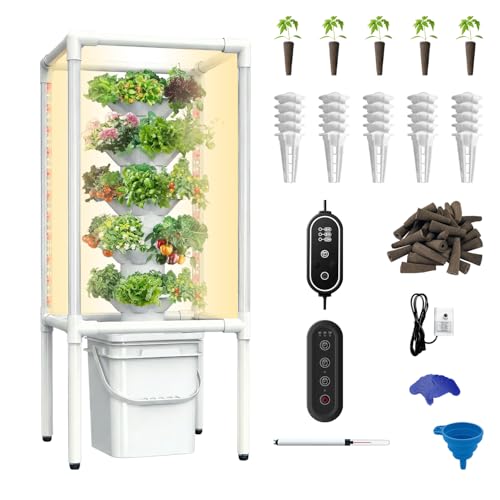
The Deluxe kit for growing with the Tower Garden FLEX system.

EASY, NO GREEN THUMB REQUIRED: Just minutes a week to add water and nutrients - our advanced hydroponics system does the rest! The automated water distribution feature disperses water evenly to all plants (NO SOIL, NO MESS!). Healthy, fresh food year-round from a fully sustainable source.

easy2grow 24 System includes:
Understanding the Reservoir System Components

Now that you've gathered your materials, let's explore how the reservoir system works in your self-watering planter. The system relies on four key components working together to keep your plants healthy. Your water reservoir sits at the bottom, storing moisture for continuous plant hydration. Above it, you'll find a special barrier made of screen or fabric that keeps soil separate from water while allowing moisture to pass through.
The wick is your planter's lifeline. It connects the reservoir to the soil, drawing water upward through capillary action. Your drainage pipe serves two important functions: it makes filling the reservoir easy and prevents overwatering by releasing excess water. When these components work together properly, they'll maintain ideal moisture levels without creating stagnant conditions that could harm your plants.
Recommended Products

Seedling Starter Kit (includes: germination tray, rockwool cubes, vermiculite, net pots, and a variety of seeds for leafy greens, lettuces and herbs)
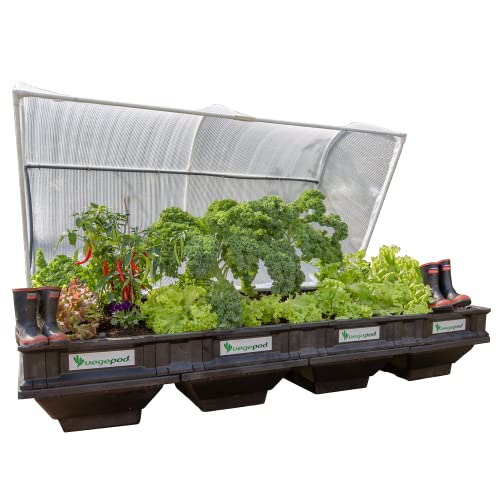
RAISED GARDEN BED KIT Vegepod Raised Garden Bed Kits are simply the easiest way to grow your own vegetables. You get the size of a raised garden bed with all the benefits of container gardening.

[ALTO GARDEN FEATURES] Fully contained, self-watering and self-lighting hydroponics growing system. Tower walls are an industry-leading 2mm thick. Each layer of the tower is a solid 360 degree construction all the way around. No leaky joints! Wide-spaced pot design gives plants room to fully grow without cramping.
Preparing Your Container for Installation
Before you assemble your self-watering planter, you'll need to properly prepare your container. Start by selecting a sturdy plastic container without drainage holes, as this will form your water reservoir at the bottom. Next, fashion a wick from a recycled plastic bottle, making it at least one-fourth the height of your container for effective water transfer.
Create a drainage hole in the container just below where the wick will sit to prevent excess water buildup. You'll want to add a barrier between the soil and rocks using window screen or plastic bags – this keeps soil from mixing with the wick water system. Finally, add a layer of rocks at the bottom of your container. This creates a stable foundation and helps water flow smoothly through your self-watering setup.
Setting Up the Wicking Mechanism
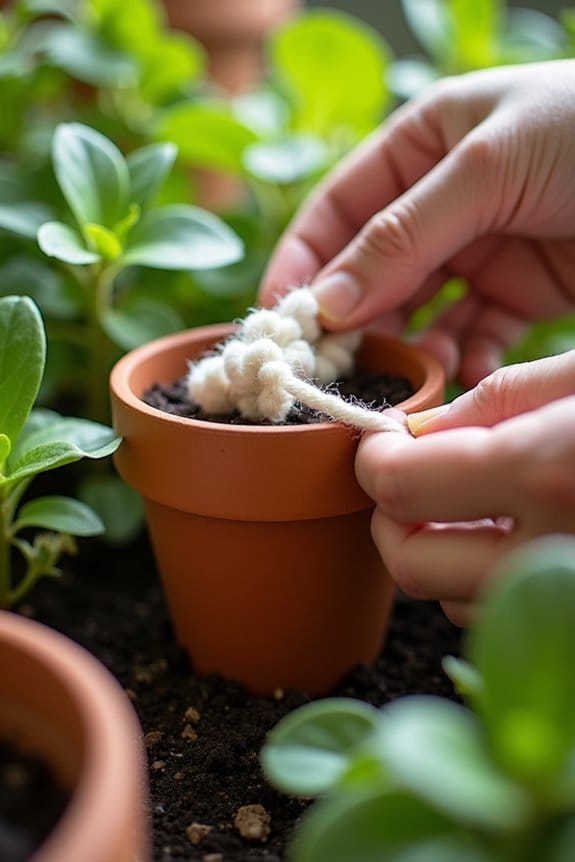
Once you've prepared your container, setting up an effective wicking mechanism is crucial for your self-watering planter's success. Start by cutting a recycled plastic bottle to at least one-quarter of your pot's height. Make several holes in the bottle's bottom and sides to optimize water absorption.
Position the wick in the center of your container, making sure it extends into the water reservoir below. Place a window screen or plastic barrier over the wick before adding soil. This prevents soil and rocks from interfering with water movement. Pack the soil firmly around the wick, but don't leave excess screen material.
Keep an eye on your wicking mechanism to verify it's functioning properly. When set up correctly, it'll deliver water efficiently to your plant roots through capillary action, making your self-watering system truly effective.
Recommended Products

Self-Watering System: Designed for convenience, the Kitchen Garden's wicking bed system allows it to self-water for up to 3 weeks, reducing the need for frequent attention and ensuring consistent moisture for healthier plants.

Compact Yet Sturdy Design: Introducing our 2ft by 2ft rounded square rolling planter-a small powerhouse perfect for your patio. Despite its size, this planter boasts heavy-duty locking wheels, robust frames, and efficient wicking cells for easy watering.

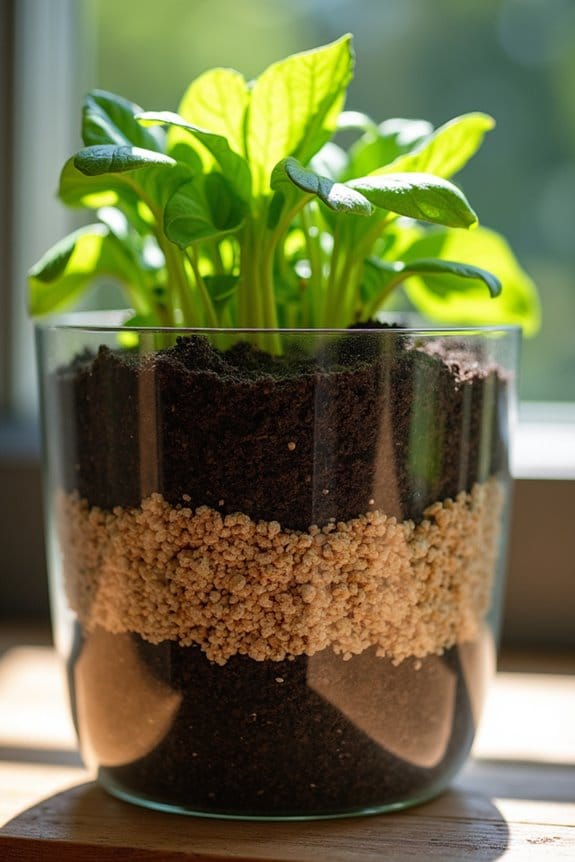
Capillary Action: Your soil acts as a sponge, absorbing the water underneath to keep roots perfectly hydrated.
Assembling the Water Distribution System
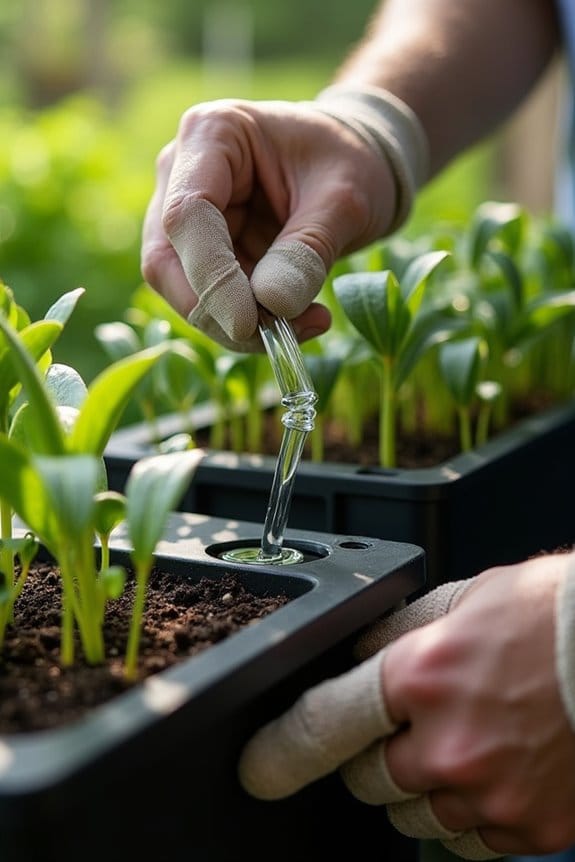
After you've prepared your wicking mechanism, setting up an effective water distribution system is essential for long-term success. Start by cutting your pipe to extend just above your plant pot's rim, making it easy to add water when needed. Position the pipe along the container's side, using rocks to keep it stable and upright.
You'll need to drill a drainage hole below the wick's top to prevent excess water from pooling. Place a barrier of landscaping fabric or window screen at the bottom to keep soil separate from the rocks while allowing water movement. Fill your container with soil around both the pipe and wick. Finally, test your watering system by adding water through the pipe until it flows from the drainage hole, confirming proper setup.
Recommended Products


Change Your Lifestyle: Grow Healthy, Nutrient-Rich Food Easier, Faster, And More Convenient Than Ever Before All Year-Round, With or Without Soil. - We Believe That Growing Food At Home Not Only Provides A Healthier Life But A Happier One!
【Optimized Indoor Growth】 Hydroponic Tower w/ 360°Grow LightEnsures vibrant plant growth even in low-light indoor spaces by providing essential full-spectrum illumination, mimicking natural sunlight for photosynthesis
Adding Drainage Control Features
While proper drainage is essential for any self-watering planter, you'll need to incorporate several key features to maintain ideal moisture levels. Start by drilling a drainage hole in the bottom of your planter to prevent water from pooling around plant roots. Add a layer of coarse gravel beneath the soil, creating a barrier that stops soil from clogging the hole.
For better water distribution, install a perforated pipe that connects to your water reservoir. Place landscaping fabric between the soil and reservoir to regulate moisture movement through capillary action. Don't forget to check your drainage system regularly. Remove any debris that might block water flow, and verify the water reservoir isn't overflowing. These simple steps will help your plants thrive by maintaining the perfect balance of moisture and air around their roots.
Recommended Products

Healthier Roots and Less Bending Down: The higher depth allows plenty of room for root systems to develop, better water drainage, and soil quality. Higher beds also mean you will bend over less, it eases the strain of bending down saving your back, one primary benefit of gardening in raised beds is that you don’t have to bend down quite as far when tending, weeding, or harvesting your plants


🍈BUILT FOR DRAGON FRUIT GROWTH: Designed specifically for climbing dragon fruit plants, this dragon fruit planter features a reinforced center pole and support ring system that helps guide growth, support heavy branches, and promote healthier fruit production.
Optimal Soil Selection and Layering
Building on your drainage system's success, proper soil selection and layering will make all the difference in your self-watering planter's performance. Start with a high-quality, peat-free potting mix that combines compost, coco coir, and perlite for ideal soil selection and root health.
While adding a drainage layer of rocks or gravel at the bottom is common, be mindful that it doesn't guarantee better drainage. You'll want to focus on moisture retention by mixing in some kitty litter with your potting mix. Pack the soil firmly around the wick to eliminate air pockets, which can disrupt water flow.
Remember to monitor your soil levels regularly. If you notice any settling or compression, top off with additional potting mix to maintain proper moisture distribution throughout your planter.
Plant Placement and Initial Setup
Once you've prepared your self-watering planter with the right soil mix, proper plant placement becomes essential for success. Position your plant in the center of the container, making sure the top of the root ball aligns with the planter's rim. This placement helps prevent water from pooling around the stem.
Carefully fill around the roots with additional potting mix, pressing down gently to remove air pockets. Don't compress the soil too much – you'll want to maintain proper drainage while ensuring the water reservoir system works effectively. As you add soil, check that the wick or water delivery system isn't blocked. After placing your plant, give it a thorough top watering to help it settle in. This initial soaking helps establish contact between the roots and the self-watering mechanism, setting up your plant for healthy growth.
Maintenance Tips for Long-Term Success
Proper maintenance of your self-watering planter will keep your plants thriving long after the initial setup. To guarantee success, regularly check your water reservoir, especially during hot weather when plants drink more. You'll need to monitor moisture levels by feeling the top layer of soil – if it's dry, it's time for a refill.
Don't forget to clean your watering pipe and drain holes regularly. Clogs can disrupt the system and harm your plants' roots. When it's time to fertilize, use water-soluble nutrients through the watering pipe for best results. Remember to adjust watering frequency based on the season and your plants' growth stage. More water is needed during summer months and active growing periods, while less is required during dormant phases.
Frequently Asked Questions
What Do You Put in the Bottom of a Self-Watering Planter?
Place proper planter materials by layering rocks or pebbles for drainage layers, then add a screen barrier. Top with expanded clay pellets or gravel, and you'll create ideal soil types for moisture retention.
Should I Put Rocks in the Bottom of a Self-Watering Planter?
You shouldn't put rocks in your self-watering planter. They don't improve drainage materials or help plant root health. Instead, focus on proper moisture retention by using quality potting mix for better planter maintenance.
Can You Overwater Plants With Self-Watering Pots?
Potentially problematic pools can form! While self-watering benefits include reduced watering frequency, you can still overwater plants if you don't monitor plant health. Watch for proper drainage issues and maintain appropriate water levels.
Do You Need to Drill Holes in Self Watering Planters?
You don't need to drill holes in self-watering planters since they're designed with built-in drainage solutions. The planter materials and system already regulate watering frequency effectively, regardless of your plant selection.


