Building a secure DIY pot stand starts with gathering essential tools like a drill, level, and measuring tape. You'll need quality wood or metal for the frame, plus sturdy brackets and screws for connections. Measure your pots carefully, including decorative edges and drainage trays, then sketch your design with planned shelf spacing. Add cross-bracing for stability and weather-resistant sealant for protection. Regular maintenance checks will guarantee your stand remains secure, but there's more to creating a lasting display solution.
Key Takeaways
- Install heavy-duty screws and cross-bracing materials to distribute weight evenly and prevent wobbling in the stand structure.
- Apply weather-resistant sealant to all joints and connections to protect against moisture damage and extend longevity.
- Use rubber or silicone pads on contact points to improve grip and prevent pots from sliding or tipping.
- Regularly inspect and tighten all fasteners, replacing damaged parts promptly to maintain structural integrity over time.
- Create secure drainage solutions and check stability under maximum weight load before finalizing the assembly.
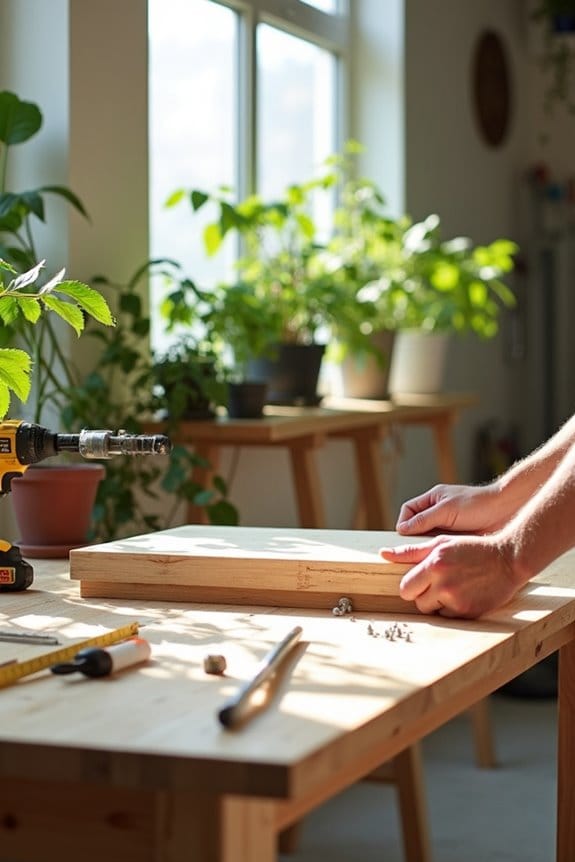
Essential Tools and Materials
You may be interested

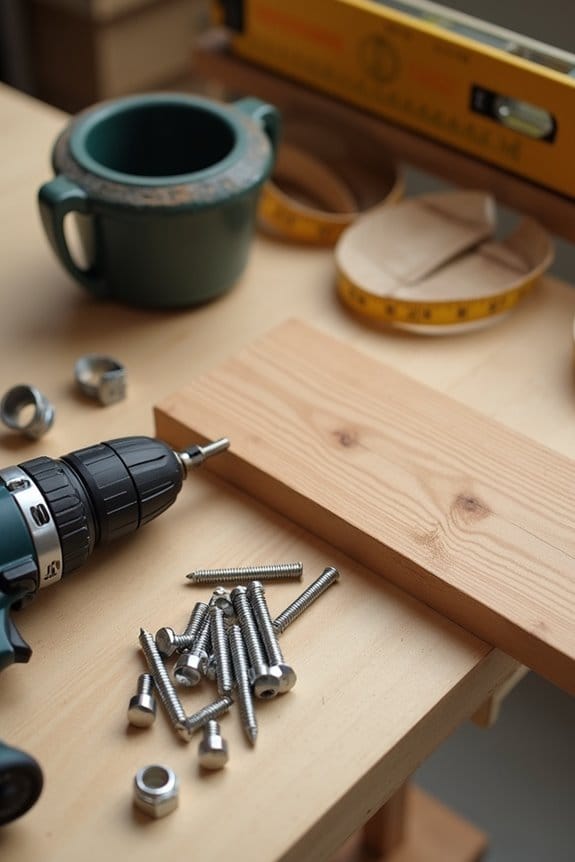
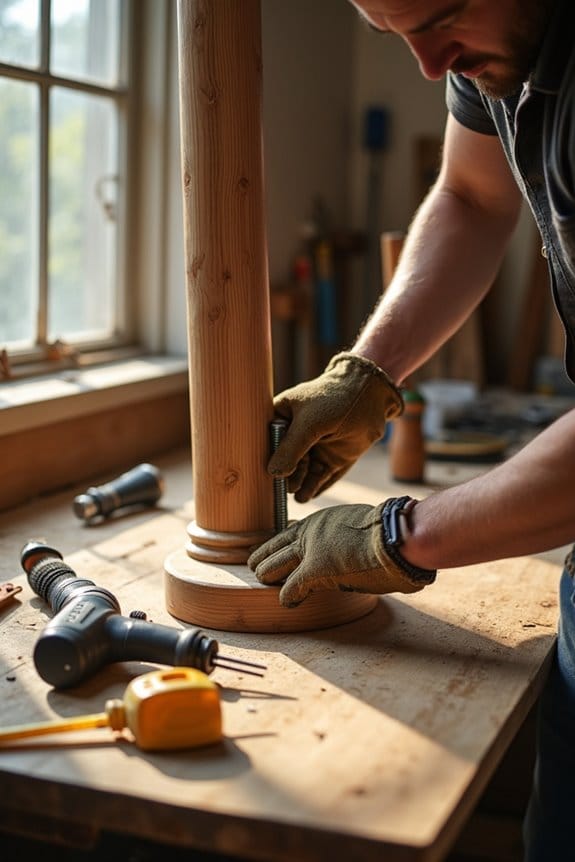
Success in stand assembly starts with having the right tools and materials ready before you begin. Your tool selection should include essential items like a reliable drill, sturdy screwdriver, and accurate level to guarantee your stand comes together perfectly. Don't forget to grab a measuring tape – it's vital for precise sizing of all components.
When it comes to material types, you'll need to choose between wood or metal for your frame, along with appropriate brackets and screws for secure connections. Before you start working, make certain you've got proper safety gear on hand. You'll want goggles to protect your eyes and gloves to guard against sharp edges. If you're planning to use the stand outdoors, consider picking up some paint or sealant to protect it from the elements.
Recommended Products

𝐌𝐎𝐃𝐄𝐑𝐍 𝐓𝐄𝐂𝐇𝐍𝐎𝐋𝐎𝐆𝐘 𝐂𝐍𝐂 𝐏𝐋𝐀𝐒𝐌𝐀 𝐓𝐀𝐁𝐋𝐄: Craft your unique metal design arts with unparalleled precision with the Eastwood Versa-Cut 2'X2' CNC Plasma Table, a masterful blend of hobbyist accessibility and professional features. Crafted for those who demand perfection and a user-friendly metal fabrication experience. Designed specifically for use with Eastwood Versa-Cut 40 Plasma Cutter (𝐒𝐨𝐥𝐝 𝐒𝐞𝐩𝐚𝐫𝐚𝐭𝐞𝐥𝐲).
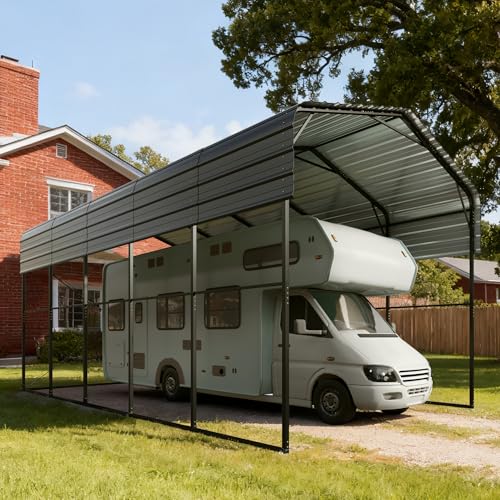
Spacious Carport Design: This carport offers a generous size of 14x25 feet, featuring five separate rooms (each with an internal dimension of 4.73 feet), making it ideal for storing vehicles, boats, and providing a venue for outdoor gatherings and activities, catering to various needs.

【Easy Installation and Direct Replace】72V 105Ah lithium golf cart battery unleashes an impressive surge of power, delivering exceptional acceleration and performance. Seamlessly upgrade from lead-acid batteries with zero wiring modifications - compatible with Yamaha, EZ-GO, Club Car, and Upgrade 36V 48V golf cart systems to more powerful. Conquer even the toughest terrains with ease and take your golf game to new heights. Say goodbye to range anxiety! Allowing you to enjoy continuous golfing for up to 73 miles on a single charge.
Measuring and Planning Your Stand

Three key measurements form the foundation of a well-designed plant stand: pot dimensions, available space, and weight capacity. Before you begin construction, take time to carefully measure and plan your stand layout. You'll need accurate measurements to create a stable and functional design.
Planning a plant stand requires precision – measure your pots, space, and weight limits before picking up any tools.
Consider these essential planning elements:
- Record the width and depth of each pot, including any decorative edges or drainage trays
- Measure your intended display area, accounting for walking space and access
- Calculate the total weight of your pots when filled with soil and plants
- Sketch your design on paper, including shelf spacing and support structures
Use a level to mark your desired stand height on the wall. This will help you visualize the final product and guarantee it's practical for your daily plant care routine.
Building the Base Structure
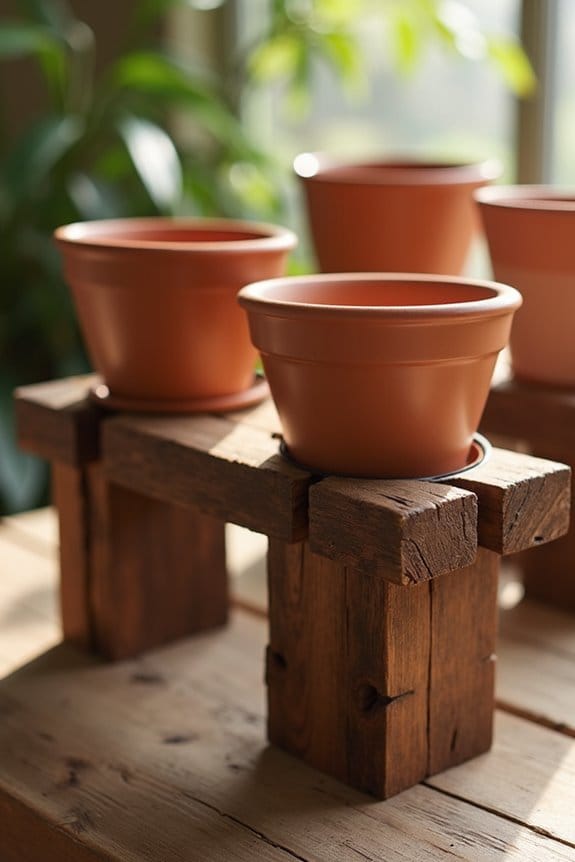
Since your plant stand's stability depends entirely on its foundation, building a solid base structure is the critical first step. Your base material selection will determine how well your stand holds up over time, so choose either plywood or MDF for maximum durability.
After cutting your material to size, you'll need to focus on proper weight distribution techniques. Install support beams across the base and add cross-bracing to prevent any wobbling. This reinforcement guarantees your pots stay secure and the weight remains evenly distributed. Don't forget to apply a weather-resistant sealant, especially if you're planning to use the stand outdoors. Before moving forward, check that your base is perfectly level – you can use shims if needed to make minor adjustments. This attention to detail now will prevent stability issues later.
Recommended Products

Effectively Waterproof and Anti-Leakage: Clear waterproof sealant is a water-based coating, waterproof coating cures to form a dense waterproof membrane that effectively insulates against air, water and moisture. It ensures the aesthetics of the item while effectively preventing leakage

Waterproof Glue Clear Material: Clear waterproof sealant is a water-based coating. Waterproof coating is semi-transparent before use, after application and curing for the transparent waterproof sealing membrane

DEEP PENETRATING - WOCA's deep penetrating formula seals the wood from the inside out while creating a waterproof finish without the buildup of film, or risk of peeling/chipping, that occurs with other deck stains, sealers, resins and paints.
Reinforcing Support Points

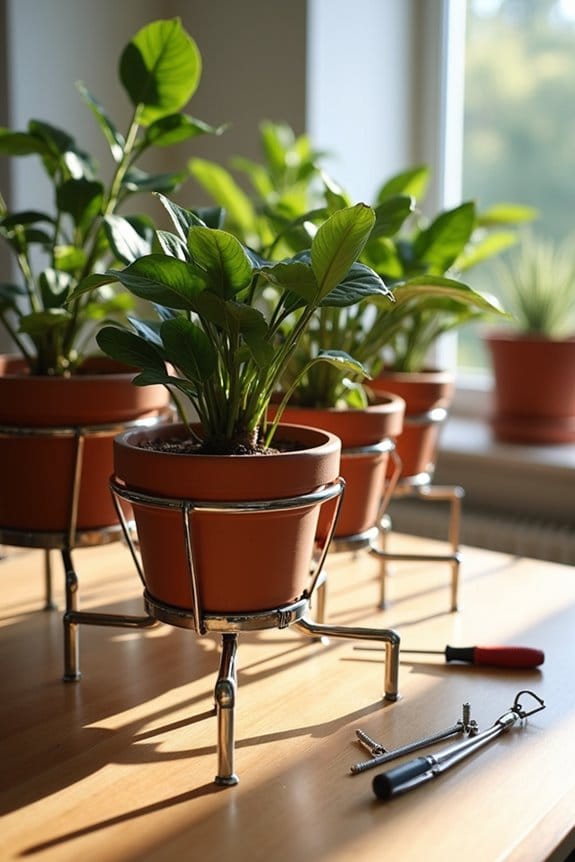
Strong support points are essential for keeping your DIY stand sturdy and secure over time. When selecting support point materials, opt for plywood or metal brackets to create a solid foundation that won't buckle under pressure. Proper weight distribution techniques, like cross-bracing between vertical supports, will prevent your stand from becoming unstable.
Here's what you'll need to reinforce your stand effectively:
- Heavy-duty screws or bolts for connecting joints securely
- Cross-bracing materials to distribute weight evenly
- Rubber or silicone pads for grip and stability
- Sturdy plywood or metal brackets for support points
Remember to check and tighten all fasteners regularly. This maintenance routine will help maintain your stand's structural integrity and guarantee your pots remain safely supported for years to come.
Recommended Products


Compatible with Tacoma 2005-2023 Double Crew Cab

【Robust & Resilient】ARKSOLDIER 33.62" Thickened Steel Fence Post Repair Stakes Kit, Powerful Support For Your leaning Fence/Rail. ARKSOLDIER crafted with high-strength S275J2 steel, Increased thickness to 11-Gauge (1/8"), Increased weight to 5.47lb/1Pack, One-piece molded design. Our Fence Post Stakes are tailored for endurance in diverse yard environments, ensuring robust anchoring for wooden fence posts of 4x4/6x6/4ft/6ft, across garden, gate, and additional yard requirements.
Adding Stability Features

After completing the basic frame, you'll want to focus on essential stability features that'll keep your stand secure and reliable. Start by incorporating a wide base design that prevents tipping, especially in outdoor settings where wind can be a concern.
Adding adjustable legs is vital for uneven surfaces – they'll help distribute weight evenly and keep your pots level. Don't forget to install rubber feet on each leg to prevent unwanted movement and protect your floor from scratches. These anti-slip pads also provide excellent grip on various surfaces.
For maximum stability, consider adding a weight system to your stand's base. You can use sandbags or water-filled containers strategically placed at the bottom. This extra weight will anchor your stand firmly, ensuring your pots stay safely in place year-round.
Recommended Products

LARGE WORKING SPACE - L-shaped computer desk offers adequate working space. The wide desktop can hold many office supplies, such as monitors, table lamp, books, files, etc. Dimensions of the Desk: 55.1”W x 41.3”D x 29.5”H
Installing Safety Mechanisms
While your DIY stand's basic structure is important, proper safety mechanisms are vital for protecting your valuable pots and plants. Install locking mechanisms and adjustable brackets to create a secure environment that prevents accidents and guarantees stability.
Here's what you'll need to incorporate for maximum security:
- Bolt locks or safety pins that firmly secure pots to the stand
- Non-slip rubber grips or pads to prevent sliding and movement
- Adjustable brackets that can accommodate different pot sizes
- Weight-balancing elements at the base for improved stability
Don't forget to check these safety features regularly for wear and tear. Tighten any loose components and replace worn-out parts immediately. Your stand's security system should adapt to your changing needs while maintaining consistent protection for your pots and plants.
Finishing Touches and Protection
To protect your DIY stand and guarantee its longevity, you'll need to apply several finishing touches that guard against wear and tear. Start by coating all joints with a weather-resistant sealant to prevent moisture damage and extend the life of your materials.
Next, focus on surface protection by adding rubber or silicone pads to the base. This prevents slipping and protects your floor from scratches. Don't forget to apply a quality outdoor paint or finish to shield your stand from the elements. If you're using metal components, this step is essential for preventing rust.
Create small drainage holes in the pot holders to manage water buildup, and make it a habit to check all fasteners regularly. These simple maintenance steps will keep your stand sturdy and your pots secure for years to come.
Testing and Adjustments

Now that your stand's protective measures are in place, let's focus on putting it through its paces. Testing for pot stability is essential for long-term success. Start by checking that your stand sits firmly on the ground without any wobbling.
Make these important adjustments to guarantee your stand performs perfectly:
- Verify the height adjustment matches your tallest pots while keeping them accessible
- Test each shelf by placing pots in their spots and checking for secure fits
- Add non-slip mats under pots that show any movement
- Give the entire structure a gentle shake to confirm overall stability
Remember to check your stand's condition regularly, especially after moving pots or changing their arrangement. If you notice any instability, make immediate adjustments to prevent accidents and maintain peak functionality.
Maintenance and Care Tips
Proper maintenance guarantees your DIY stand remains stable and functional for years to come. Start by performing regular stability checks, tightening any loose screws or bolts that might cause wobbling. You'll want to develop consistent cleaning techniques using a damp cloth to wipe away accumulated dirt and debris.
For wooden stands, explore different sealant options to protect against moisture damage. A quality waterproof sealant will greatly extend your stand's lifespan. Don't forget to check that your pots have proper drainage and that water can easily run off the stand's surface. This prevents unwanted mold growth and structural deterioration. When severe weather's approaching, you'll need to move your stand to a protected area. These simple maintenance steps will keep your DIY stand looking great and performing well throughout the seasons.
Frequently Asked Questions
What Can I Stand My Plant Pots On?
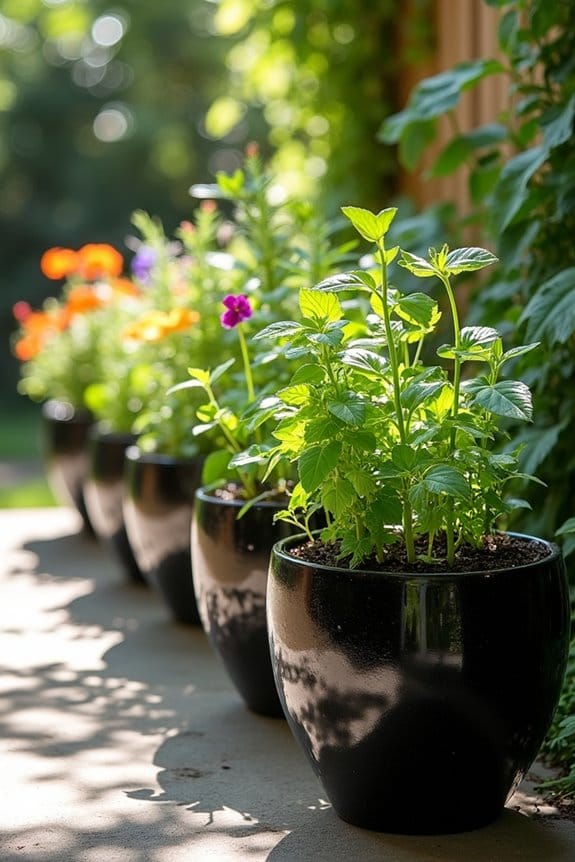
You'll find plenty of plant pot options: place them on concrete, wood decking, gravel, or use stand materials like decorative shelves, bricks, and stones. Don't forget saucers underneath to protect surfaces.
How to Weigh Down a Plant Stand?
Hey rockstar gardener! You'll boost your stand stability by adding plant weights like sandbags, bricks, or decorative stones at the base. Don't forget to check your stand's weight capacity before loading it up.
How to Make a Gardening Shelf?
Choose durable shelf materials like treated wood or metal. Cut boards to your desired shelf dimensions, at least 24 inches deep. Mount brackets 12-18 inches apart, then seal the wood for weather protection.